Drywall Finishing for Beginners to Advanced: 5 Easy Steps

Drywall Finishing for Beginners to Advanced: 5 Easy Steps
If you think of drywall as just a wall with no character, you are missing out on the beauty that it offers. Drywall is one of the best ways to give your home space a new look without making any significant changes to it. Like any other construction project, finishing drywall alone isn’t easy and takes time and lots of patience. However, with the right tools and techniques, anyone can finish their walls to give them new life. When finished properly, drywall can make your home feel much more spacious. If your home has unfinished drywall walls, then this blog post will help you finish them in no time! Let’s get started...
Why use drywall?
Drywall is used in many homes and commercial buildings as a quick and easy solution to cover the surfaces of the walls. It is a great solution when you need to cover the surface of your walls to finish your house quickly, such as when you are renting a house or if you are in the middle of renovations and need to cover up the current walls. There are many advantages to using drywall over other materials, including the fact that it is lightweight and easy to transport to your house. Drywall is also very cost effective. It is also easy to install and has a quick installation time. You can also easily cut and shape drywall to make it fit into any space because it is made of gypsum, a material that is easily bent and can be cut with a regular pair of scissors.
5 Easy Steps to Finishing Drywall Walls
If you are a beginner, it can seem almost impossible to finish a wall and make it smooth enough to be a part of your new space. But if you have the right tools, you can finish your walls in a day! Here are 5 easy steps to finishing your drywall walls:
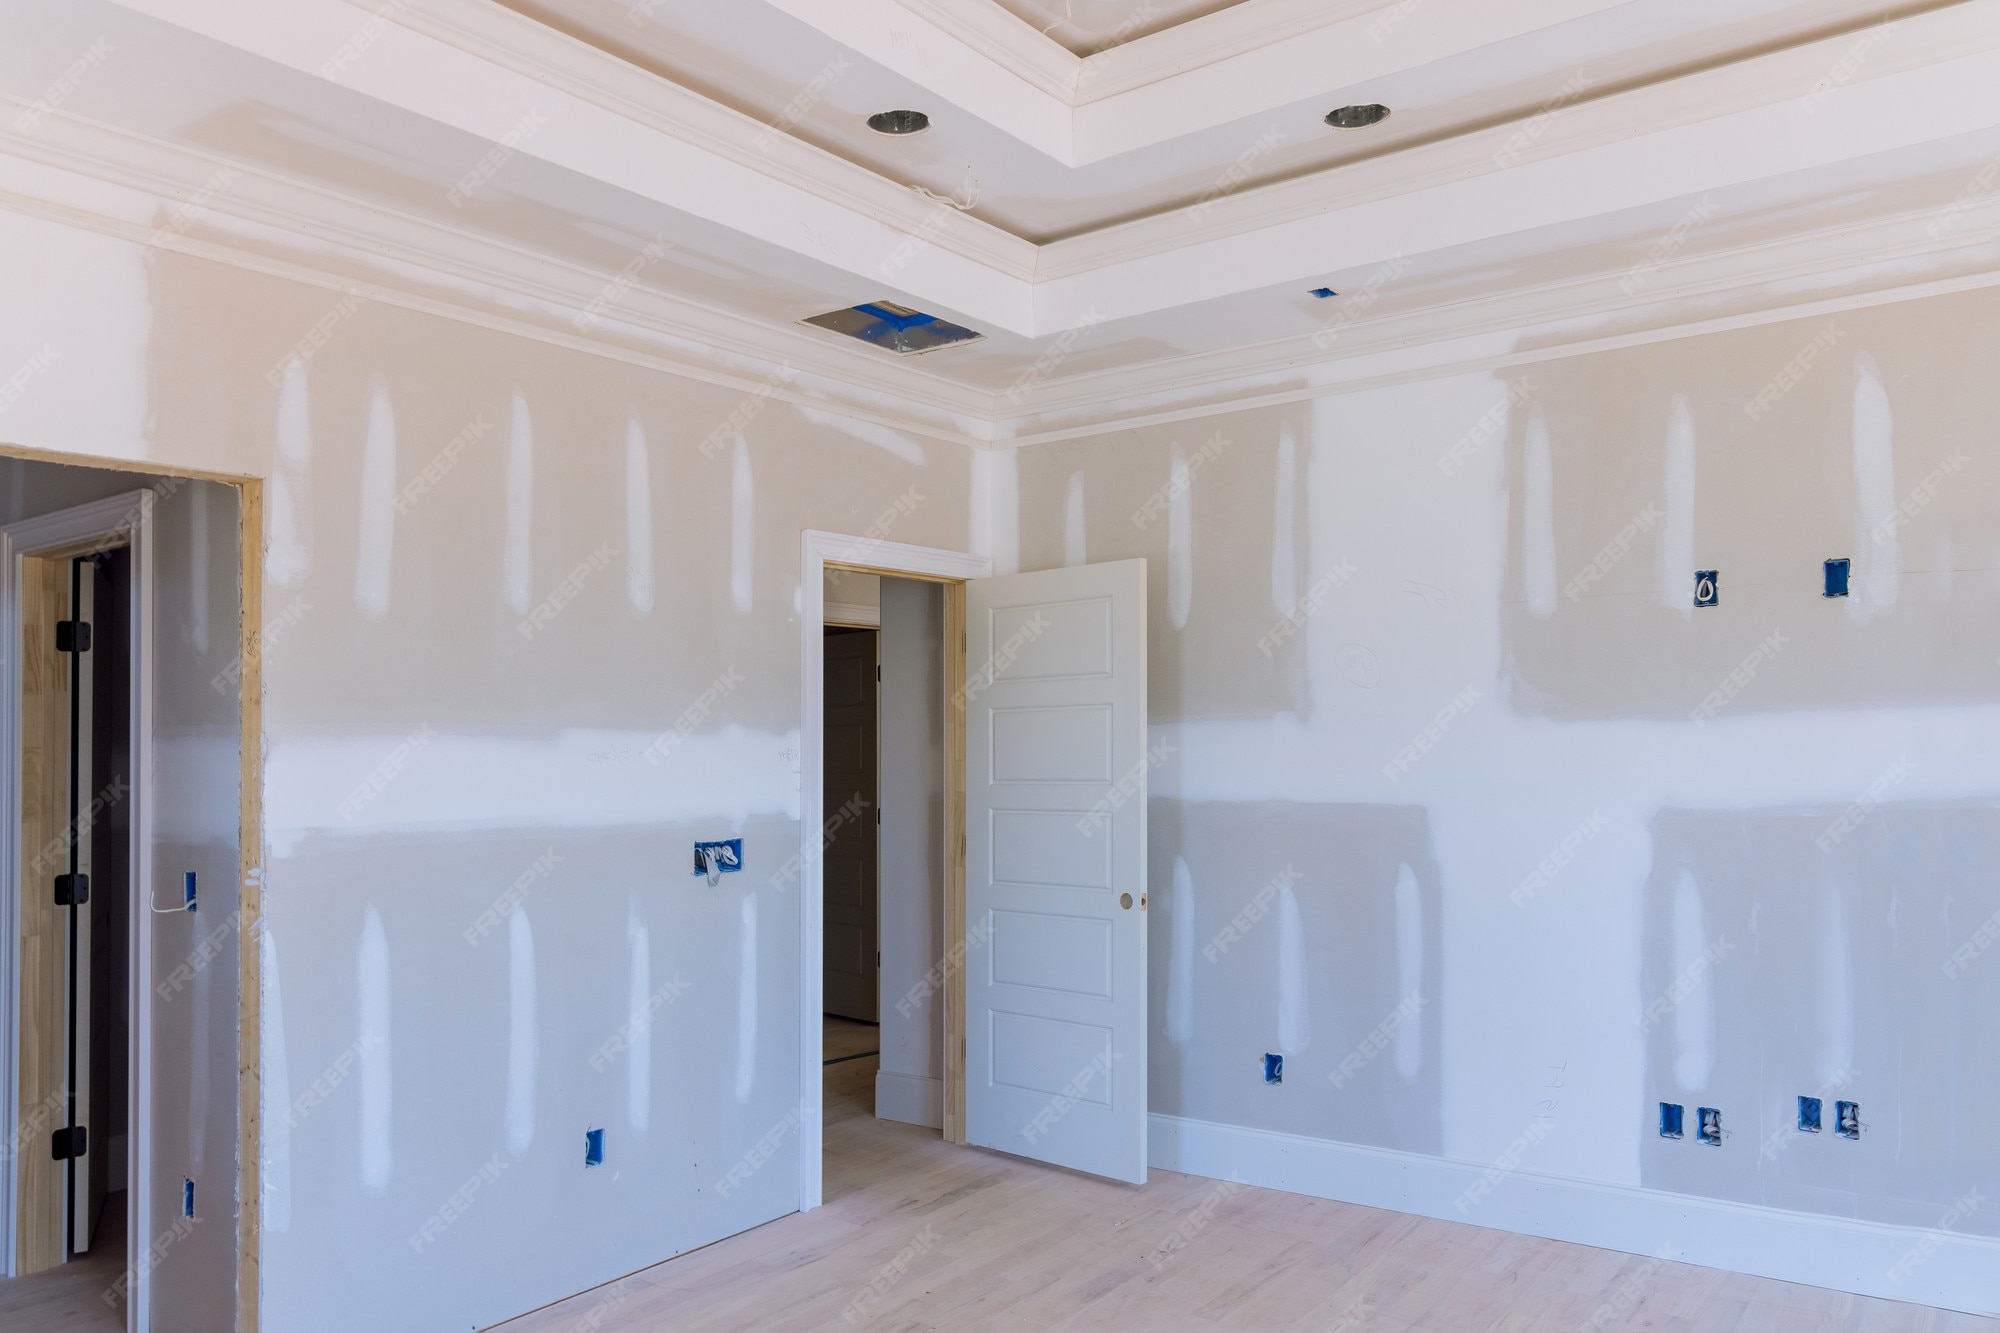
Hanging the drywall
The first thing you need to do when finishing your walls is hanging the drywall. The first step before hanging the drywall is to measure and mark the spots for the studs. This is the easiest way to get the drywall straight and even on either side. When you finish hanging the drywall, you can use an air nailer to secure the sheets. This will ensure that the sheets are tightly secured to the studs.
Smoothing the edges
The next step is smoothing the edges. This will ensure a nice finish and make the sheets look even and professional. You can do this by using a straight edge, a yardstick, and a razor. If you want to finish the edges that are very close to the ceiling or the floor, you can use either a razor or an electric knife.
Applying joint compound
Now that your drywall is hanging and smooth, you can start applying joint compound. Joint compound is a necessary step that will make your wall look smooth and ready to paint. You can apply a thin layer of joint compound, let it dry, and then sand it down to make it look smooth and ready for painting.
Filling in the holes and dents
After smoothing your edges and applying joint compound, you can finish the walls by filling in the holes and dents. This is a very important step because the holes and dents may look obvious after you finish painting the walls. You can fill them in either by using a special putty or joint compound.
Conclusion
The finishing of your walls will have a huge impact on the look and feel of your home. It is important to get it done right and with the right tools, you can finish your walls in a day. When finished properly, drywall can make your home feel much more spacious. Now that you know all these steps, you can start finishing your walls and make your home look amazing!